Tuesday, October 30, 2007
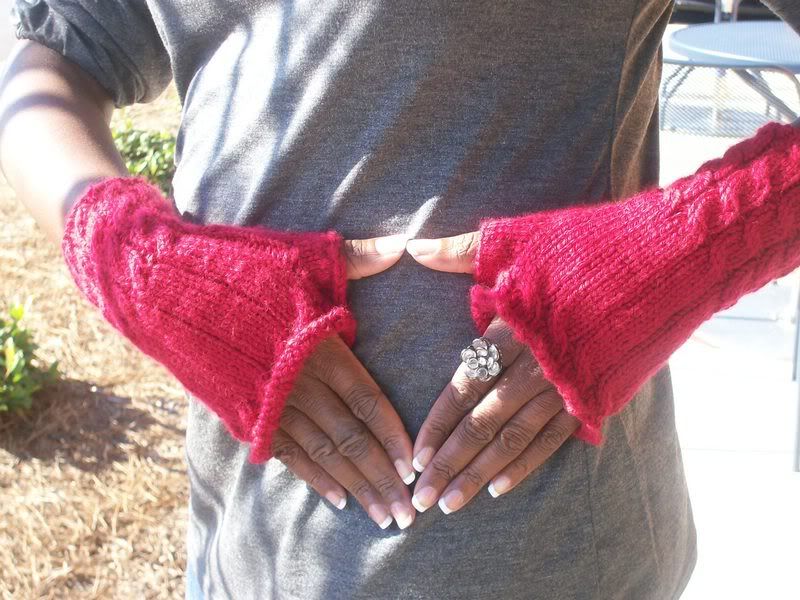 These have been done, but I have just been too busy to type up the info on them and I finally got someone to take pics for me.
~Wanna hear about it?!? ~Here's how it goes! :o)
~Project Details~
Pattern: Fetching Fingerless Gloves. Which I like to refer to them as my Red Brickhouse Mitts :oD
They count as one of my Fingerless Mitts Fall KAL and Fall Cable KAL 2007 submission, check both sites out!
Size: One size
Time: A very quick knit!
Needles: Denise US 5
I went down a needle size, and I really wish I had used Addis on these instead for the magic looping.
Yarn: Debbie Bliss Cashmerino Aran in #610, 1.25 balls
I was looking at how much yarn I had leftover after the first mitt
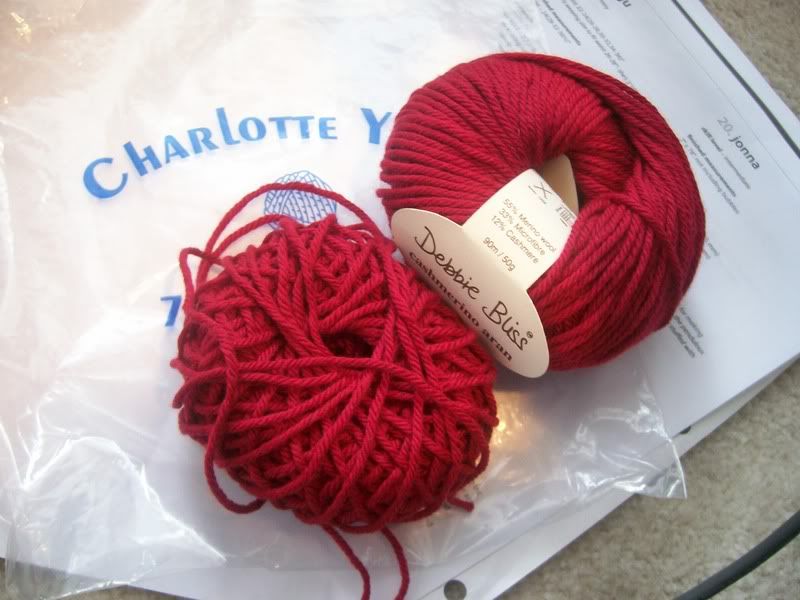
and was glad I bought the 2nd ball and did not knit these up two at a time (just manageability would have not been ideal for me on this particular project). I still have a lot of yarn leftover and will probably use it for baby booties.
I do not like this yarn. I have worn these gloves all of 3 times (once outside) and they are already looking worn out and fuzzy. As y'all know - where there is fuzz there will soon be nasty little balls! Ugh!
It is like an "ashy" fuzz. I don't like that. I won't be knitting up in this yarn again. And I am now a little concerned about my caplet, since it was in the DB superchunky, how that will hold up.
Cost: Since I purchased two balls as a precaution (which I am glad I did) and got it at a 24% discount on both balls together only costed me $14. This definitely could be done cheaper with a different yarn selection, which I would recommend since I am not liking the 'wearability' of this yarn.
What I learned:
How to make a thumb hole for a mitt! :oD The whole waste yarn trick and picking up stitches was an interesting adventure! Haha! As you may remember the little surgery I did :o) It was a good challenge!
And I know I still didn't pick up those stitches correctly. The pattern calls for you to pick up two extra stitches on both sides for the thumb in addition to the live ones.
I picked up way more than that to try and avoid the "holes". I even knitted in the back of those stitches on the 1st round.
I would eventually like to graduate and make some real gloves without this pesky little problem coming back up.
Because I had picked up extra stitches, I forgot to decrease back down to the correct number I needed to be at on the 1st mitt (but I remembered on the 2nd one). So I have some extra thumb room there!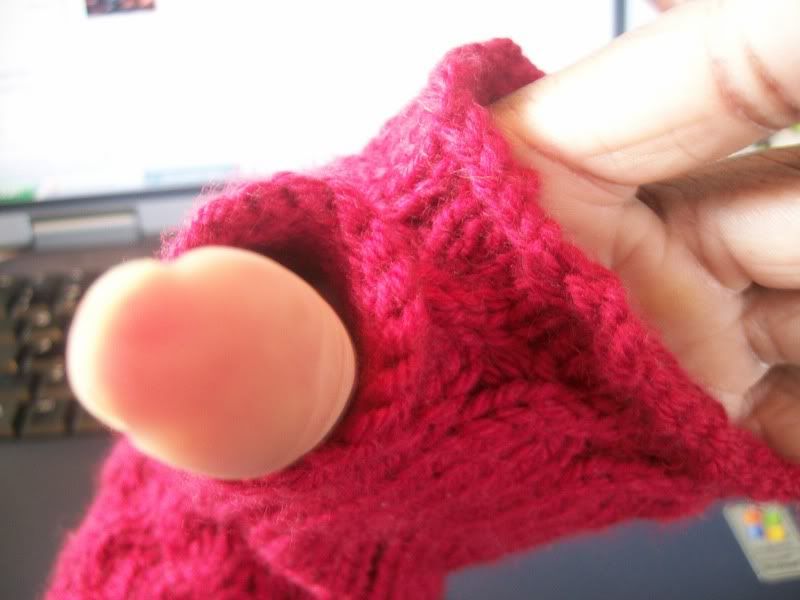
Even though the directions were written plain as day! I was making it waaay harder than it needed to be for this bind off edge!
Robin helped me by breaking it down like H-2-0 over e-mail :op And Adrienne sent me a great link to a video on how to do it (do y'all know how hard it is to find this demonstrated on video!). Thank you ladies for always being my "go to e-help" and being so on it! :o)
I know I didn't do it right on the 1st mitt, but like the results better than how I did it correctly for the 2nd mitt. The picot edge really has a lot of "roll" to it.
Now looking back on it, I would have definitely liked the regular bind-off better, but thought originally it would have been too plain. And why not go with the cute picot edge that I seem to just luv on sock cuffs. I am glad I tried it out though.
Modifications: I actually did one extra round of the cables which lengthened the mitts by 6 rounds
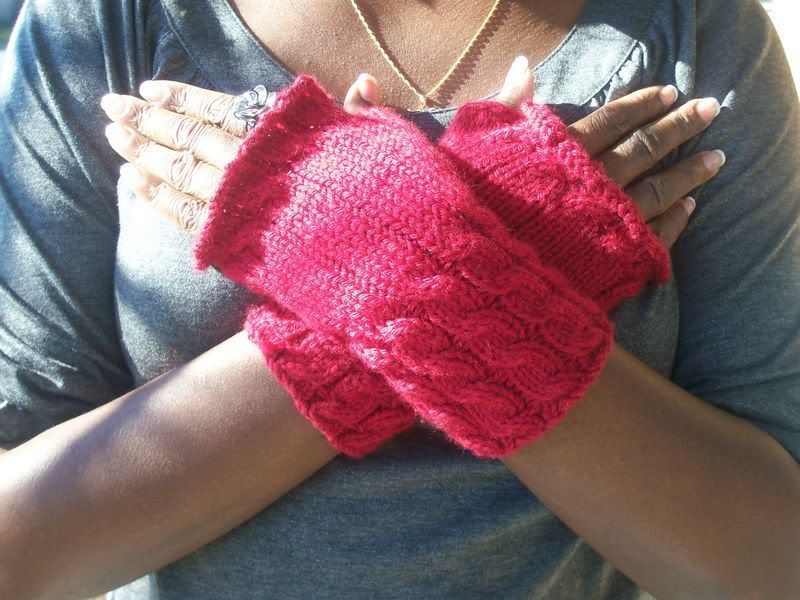 And I also lengthened the thumbs by 2 rounds since I didn't want tiny nubs.
So this project really could have been done with only 1 ball of yarn if I had not added the extra rounds.
I think they are a little loose around my hand, and I even went down a needle size! I probably would not do as many CO stitches (if there is a next time).
Verdict: This was not a favorite knit for me, but the time it took to make them made it for an easy execution.
I had even bought more balls of yarn thinking I would crank out a few of these as gifts. But once I finally got motivated enough to start knitting on them, I realized I was not sure if I would want to do them again.
I can't put my finger on it exactly. Because the pattern was fine and they are super cute I just really wasn't all that "into them" like I thought I would be since I have been wanting to knit them up for awhile now.
I would really like to try out the Dashing mitts now! So those are next on my list for fingerless gloves. And I already have yarns swirling around in my knitting fantasies to use on them!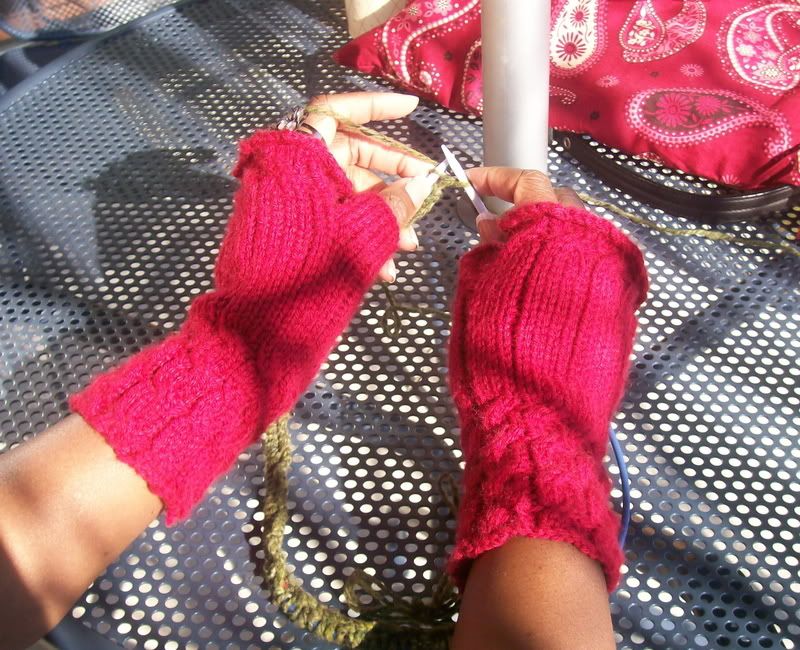
I have the perfect use for these gloves! I so plan to wear them while I am knitting! :o)
They will be my "in-house" gloves. I am actually typing up this post while wearing them to keep my hands toasty around the house. They are like my very own slippers for my hands!! :oD
Labels: Finished Objects






Now that it has finally turned cold, I need to pull mine out to use here at the pc and for knitting to keep my hands warm.
Great post, lots of info.
They do look... fetching though!
i know where you quote comes from too, In Living Color. Even though it wasn't your favorite knit, it did turn out nicely.
The gloves are cute - and thanks for the link to the Dashings. I love them!!! I wasn't a fan of the picot edging and almost didn't do it, b/c I'm not really a frilly kind of girl. Thanks for all of the great notes, all good info.
They came out cute!
"wanna here about it....here it goes....aaaaahhhhhh hhaaaa aaahhhhh "
ROFLOL!!!
I'm surprised about the yarn, though. (I've never used it.) You would think the pattern would use one that doesn't pill so easily, seeing as how these mitts are probably going to have very active hands in them! Something for me to think about before I make them, I guess.
Thanks for all the details! We'll see if I can avoid the same issues...ya, right!
I haven't made gloves so-can't help with thumbholes, they are still a future to try knit.
I saw Dashings on another blog too-they look great! can't wait to see yours.
Funny, I just finished a pair of RED Fetchings as well - though with Lion Cashmere Blend. Heh.